Pinhole photography, also called lensless photography. After all, there is no lens in pinhole photography. You just expose the film through a pinhole. You don’t have to buy expensive lenses and you can build the camera yourself. The costs of my pinhole cameras are a few euro. Download the pinhole calculator, or try the formulas and build your own camera. Start a most exciting way of photography.
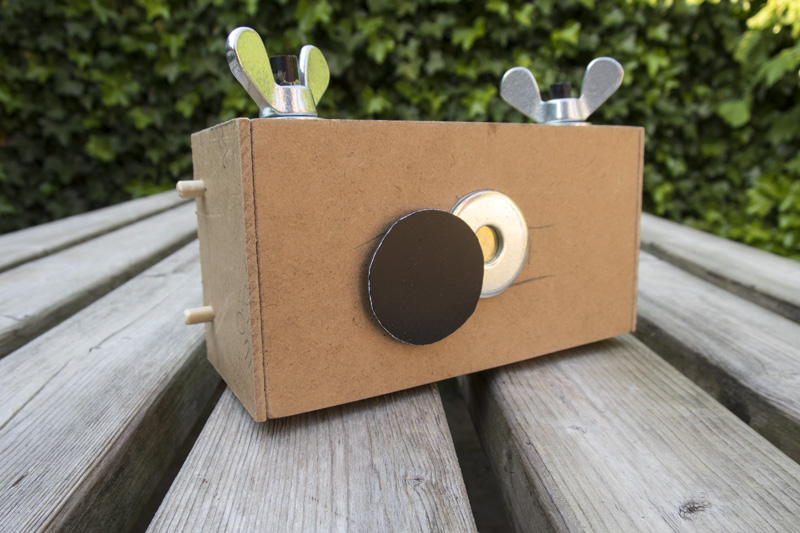
Pinhole camera build. To be used for 120 roll film.
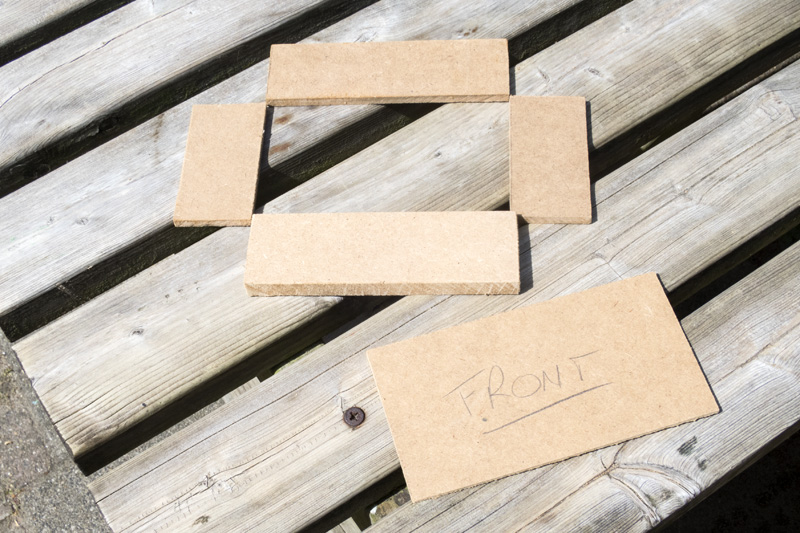
The pieces we have to saw The bottom: 145x45x13 mm. Left and right side: 86x45x6,5 mm. Top: 145x45x6,5 mm. Front: 158x86x3 mm.
You can use any thickness you want. As long as you respect the internal dimensions. Width: 145mm. Height: 66mm. Use a thick bottom though to glue in a tripod nut.
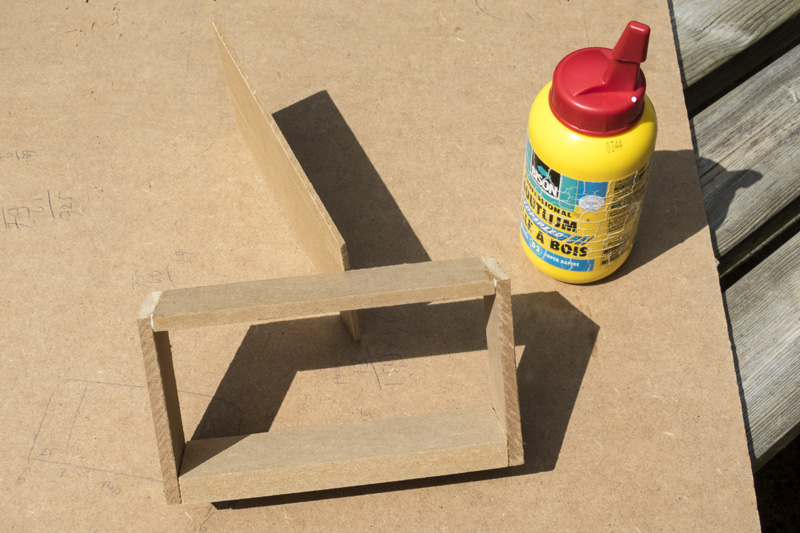
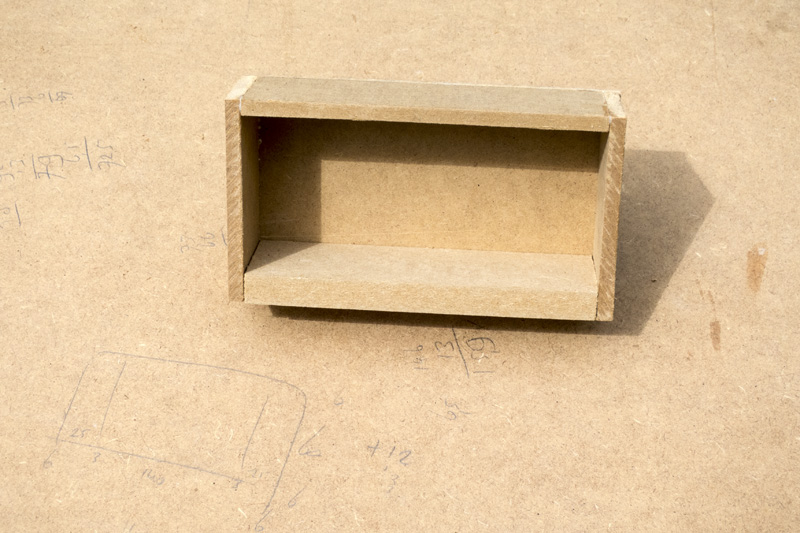
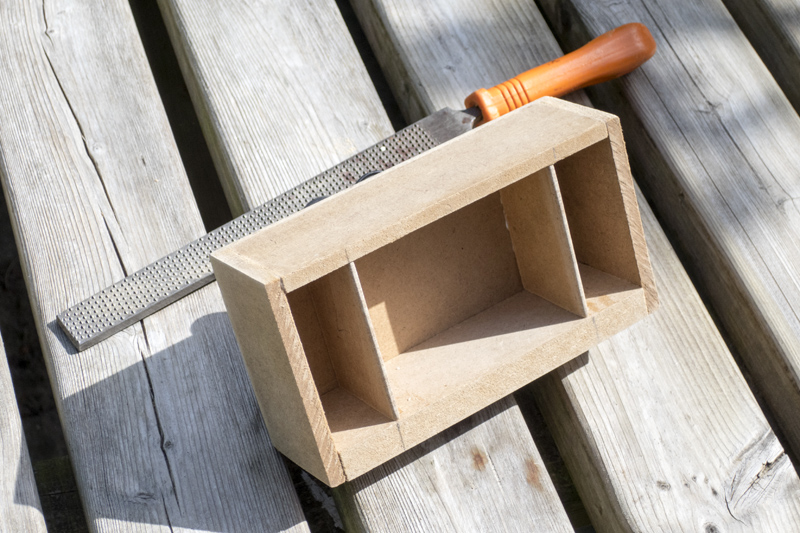
Glue the parts together as shown in the images. Wood glue that dries quickly is best to use. Now we have the dark room without a back.
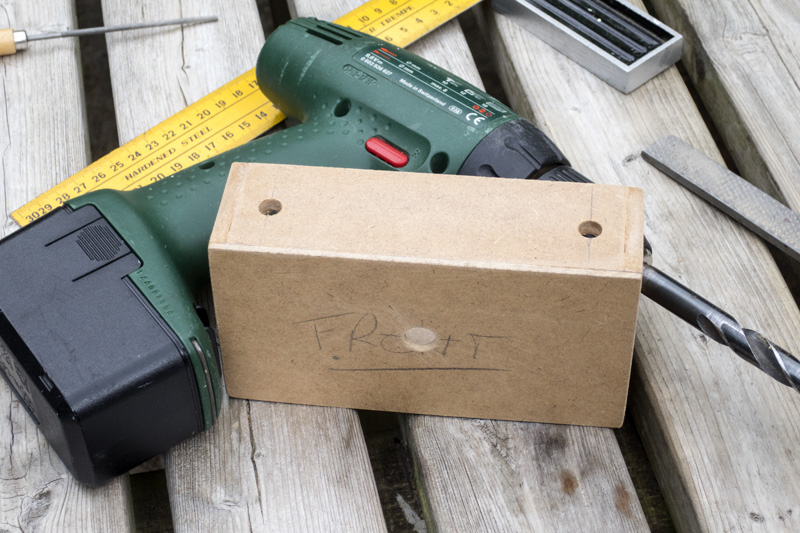
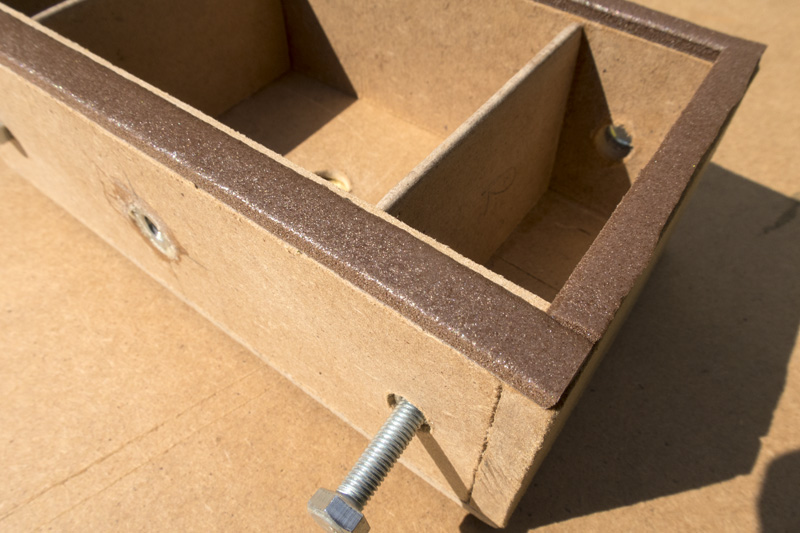
Next step is to determine the negative size. Saw two pieces of mdf: 66x45x3 mm. Glue them inside the camera. Make sure to keep 26 mm. width free on the left and right for the 120 roll film spool. Drill holes on top for film transport. Do your math to determine the place to drill. The size of the drill is 8 mm. Use a 12 mm. drill for the front.
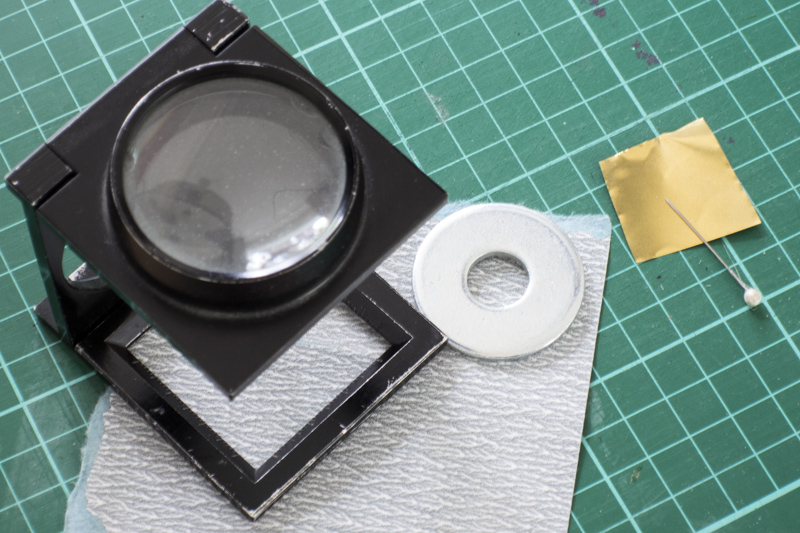
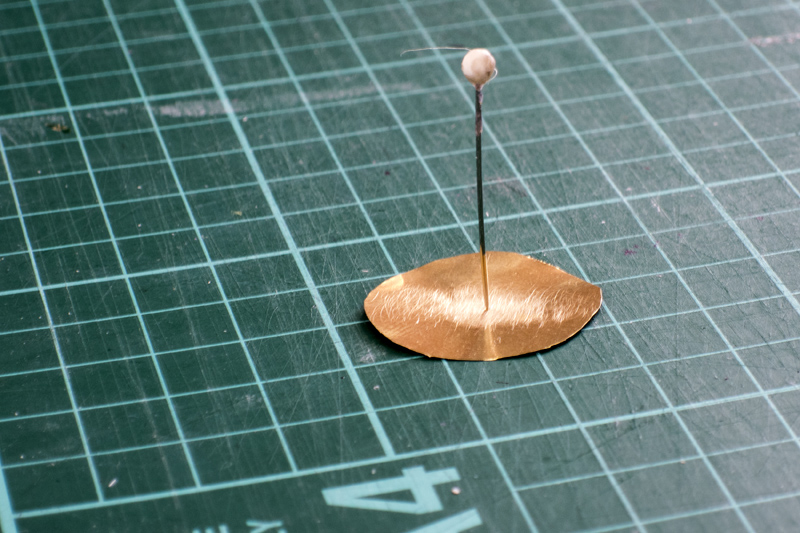
The pinhole itself. I use 0,0025 mm thin copper foil. You can also use a (very) thin soda can. No problem, the thinner the better though. For this camera we make a pinhole of 0,302 mm. See also the pinhole calculator to determine the pinhole size. You can buy laser pinholes if you want to. I’ve never done that, it’s easy to make your own. Take a very thin needle and puncture gently through the material. Better to get the right size in a few steps. Sand with very fine sandpaper gently on both sides any burrs off. Take the needle again and turn it around in the pinhole, making it a bit wider and sand burrs of again. I use a magnifying glass to check the size. I never scanned a pinhole, but that’s also a good method for checking the quality and the right size.
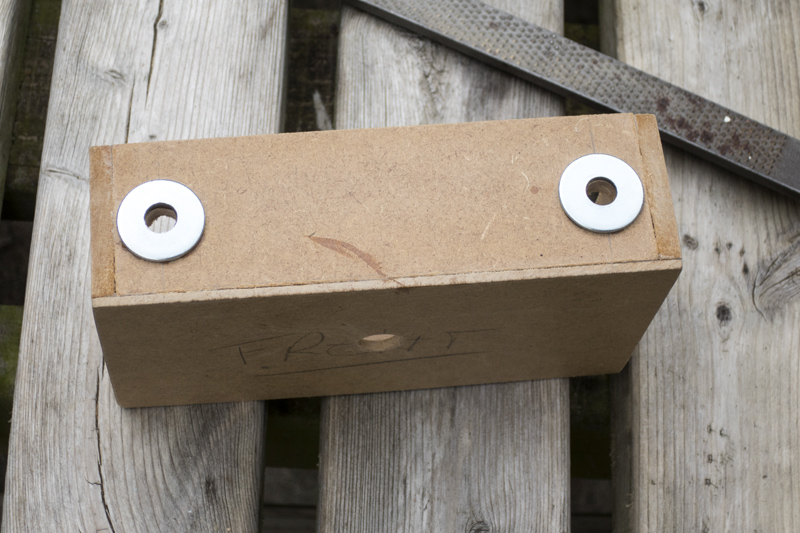
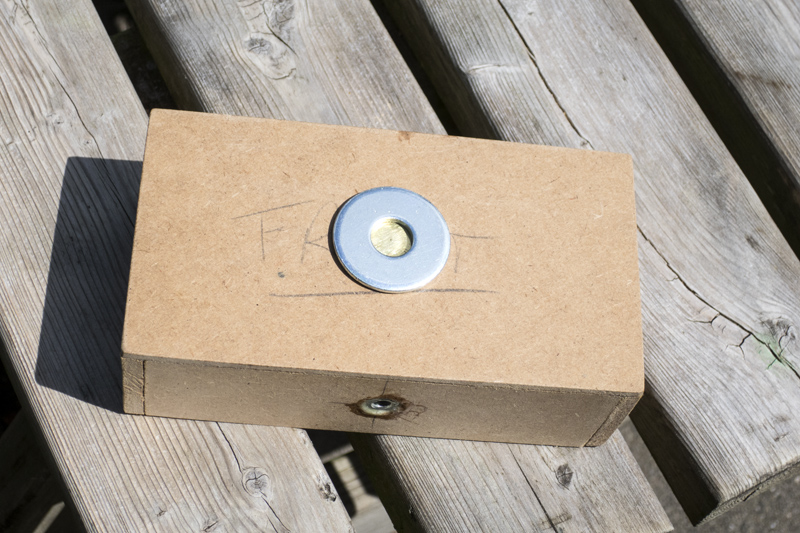
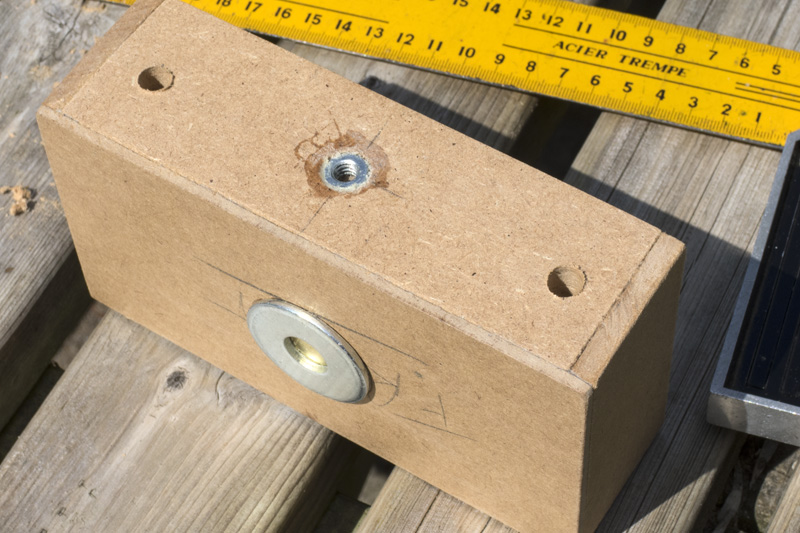
Glue two washers on top. Diameter of the opening is 8 mm. Use contruction or contact glue. Drill a hole, 13 mm. in the middle of the bottom, not all the way through. Just enough to fit in a 1/4″ nut (20 unc) for using a tripod. Glue the nut with construction glue. Glue with construction or contact glue a washer, together with the pinhole on the front, opening diameter of the washer at least 13 mm.
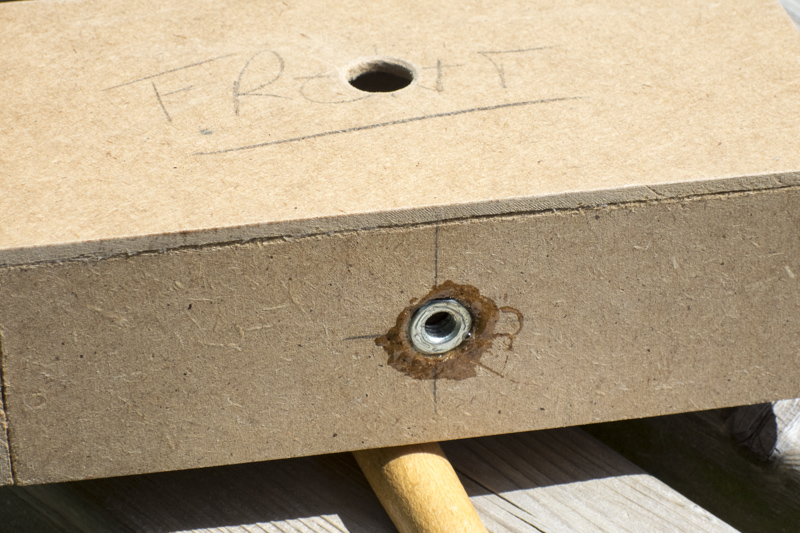
This is a fairly critical step. Measure exactly where the middle of the spool is and drill a hole in the bottom with an 8 mm. drill. Glue a 5 mm nut in the opening, contact glue or construction glue. A 5 mm. bolt will keep the spool in place. Use a self-adhesive draft strip to make your pinhole camera lightproof.
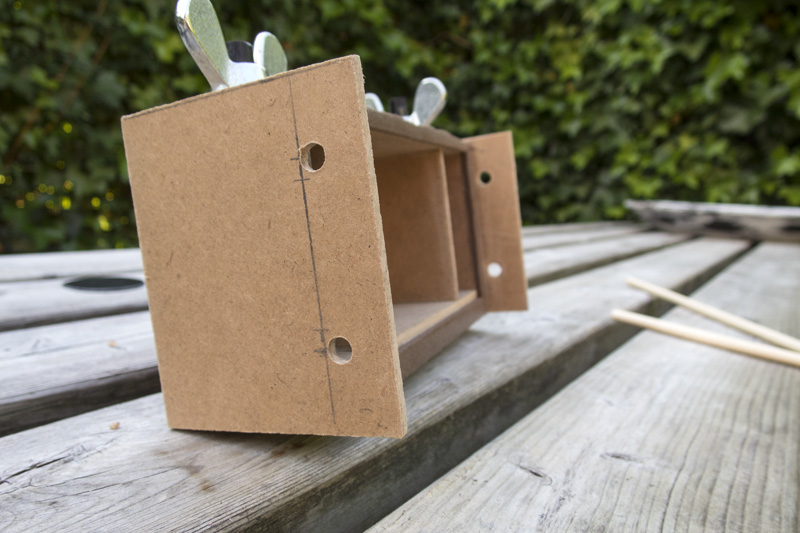
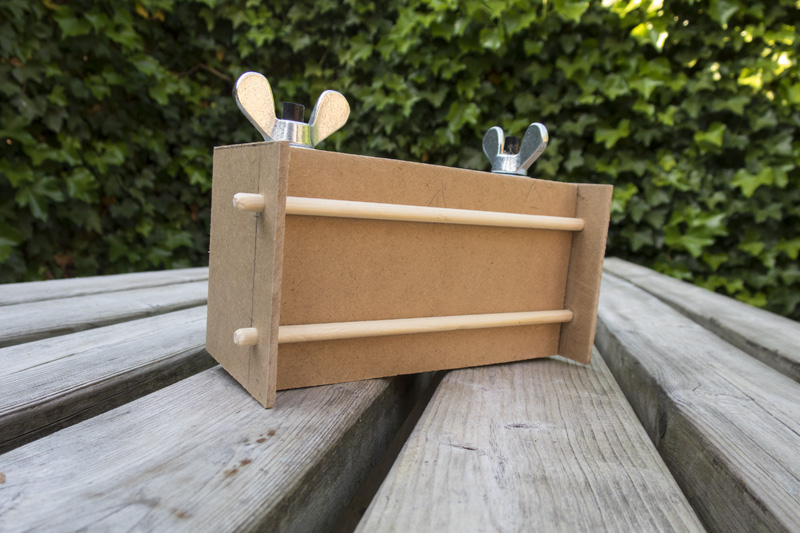
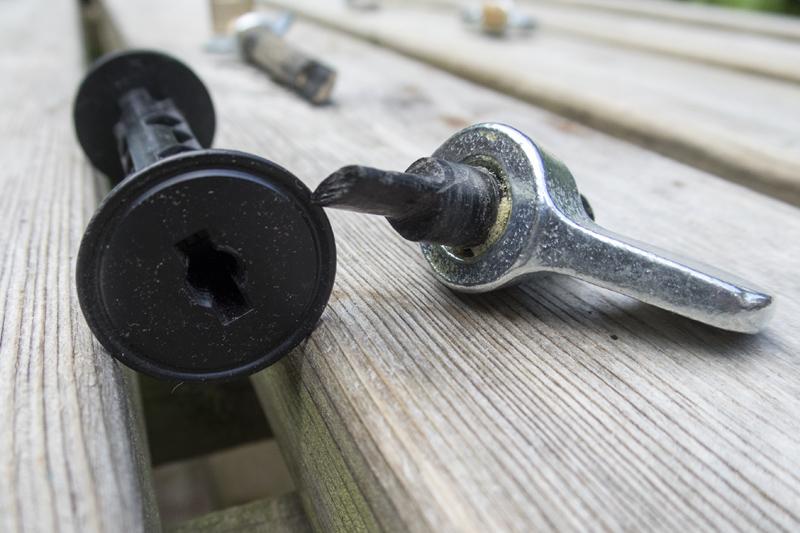
Glue on the left and right side a piece of mdf, 70x86x3 mm. The part that’s sticking out is at the rear of the pinhole camera. Saw the mdf back. 158x86x3 mm. Place the back and push it down on the draft strips. Draw a line to determine where the next holes should be. Drill two holes on each side, 6 mm. Saw two wooden sticks, 6 mm. diameter for keeping the back in place. Glue a 8 or 9 mm. wooden or hard plastic stick in a wing nut. Shape the stick to fit the spool. The shutter is a simple (paper) magnet. Great, you’re done. Hope you liked it building a pinhole camera. And don’t forget to make the pinhole camera black inside.
Ontwerp je eigen pinhole camera met deze gemakkelijk te gebruiken pinhole calculator.
Design your own pinhole camera with this easy to use pinhole calculator.
Pinhole fotografie wordt meestal gebruikt in combinatie met een grote beeldhoek. In dit voorbeeld willen we een diagonale beeldhoek van 94,5 graden met een brandpuntafstand van 20 mm. Laat je niet afschrikken door de formules, het is makkelijker dan het lijkt.
Pinhole beeldhoek (diagonaal)
De formule is: α=2*arctan (d/2f) d= diagonaal van de film f= brandpuntafstand Eerste stap is het berekeken van d. We gebruiken een 35 mm. kleinbeeldfilm. Die is 24×36 mm. rechthoekig. d=√24^2 +36^2 =43.3 Dus d/2f = 43.3/2*20=1.0825 Bereken nu de arctan van 1.0825 door de tan-1 button knop van je calculator te gebruiken. Je calculator moet in de d(egrees) mode staan. Laatste stap= 2*arctan = 2*47.27=94.5 graden
Pinhole diameter
De formule is: d=c√fxl d= pinhole diameter c= constant = 1,9 f= brandpuntafstand l= golflengte van het licht = 0,000550 (geel licht) Voorbeeld: camera met een brandpuntafstand van 20 mm. Het antwoord is dan: 0,199=1.9x√20×0,000550
Pinhole diafragma
We gebruiken de pinhole diameter die we al hadden uitgerekend, 0,199 mm. De formule is: f/d f= brandpuntafstand d= pinhole diameter Het antwoord is: 20/0,199=100
Pinhole belichtingstijd
Meet het licht met een camera of een losse belichtingsmeter. Zet de lichtmeter op de ISO waarde van je film. Meet een tijd met diafragma 16. Er komt bijvoorbeeld een tijd uit van 1/15 sec. Onze pinhole is 0,199, met diafragma 100. Diafragma stappen: 1-1.4-2.0-2.8-4.0-5.6-8-11-16-22-32-45-64-90-128-181-256-312-512 Zoals je ziet, van diafragma 16 naar 100 is 5 stappen. Nu gebruiken we de belichtings stappen. 1/125-1/60-1/30-1/15-1/8-1/4-1/2-1-2-4-8-16-128-256 sec. Onze pinhole tijd is 5 stappen vanaf 1/15 is: 2 sec.
Design your own pinhole camera.
Pinhole photography is mostly used in combination with a wide viewing angle. In the example we want a diagonal angle of 94.5 degree, focal lenth 20 mm. Don’t let the formulas scare you, it’s easier then it looks.
Pinhole angle of view (diagonal)
The formula is: α=2*arctan (d/2f) d= diagonal of your film f= focal length First step is calculate d. Let’s say we use 35 mm. film. That is 24×36 mm. square. d=√24^2 +36^2 =43.3 So d/2f = 43.3/2*20=1.0825 Now calculate the arctan of 1.0825 by using the tan-1 button on your calculator. Make sure you calculator is in the d(egrees) mode. Last step= 2*arctan = 2*47.27=94.5 degrees
Pinhole diameter
The formula is: d=c√fxl d= pinhole diameter c= constant = 1.9 f= focal length l= light wave length = 0.000550 (yellow light) Let’s say you want to build a camera with a focal length of 20 mm. The answer would be: 0.199=1.9x√20×0.000550
Pinhole aperture
We use the pinhole diameter that we’ve already calculated, 0.199 mm. The formula is: f/d f= focal length d= pinhole diameter So, the answer is: 20/0.199= 100
Pinhole exposure
Measure the light with a camera or a separate light meter. Set the light meter at the same ISO value as your film. Take a reading at aperture 16. Let’s say you lightmeter shows a time of 1/15. Our pinhole is 0.199, and aperture is 100. Aperture steps: 1-1.4-2.0-2.8-4.0-5.6-8-11-16-22-32-45-64-90-128-181-256-312-512 As you can see, from aperture 16 to 100 is 5 steps. Now we use the steps of exposure. 1/125-1/60-1/30-1/15-1/8-1/4-1/2-1-2-4-8-16-128-256 sec. Our pinhole exposure time is 5 steps from 1/15 is: 2 sec.
We gebruiken cookies om ervoor te zorgen dat onze site zo soepel mogelijk draait. Als je doorgaat met het gebruiken van deze site, gaan we ervan uit dat je ermee instemt.Ok